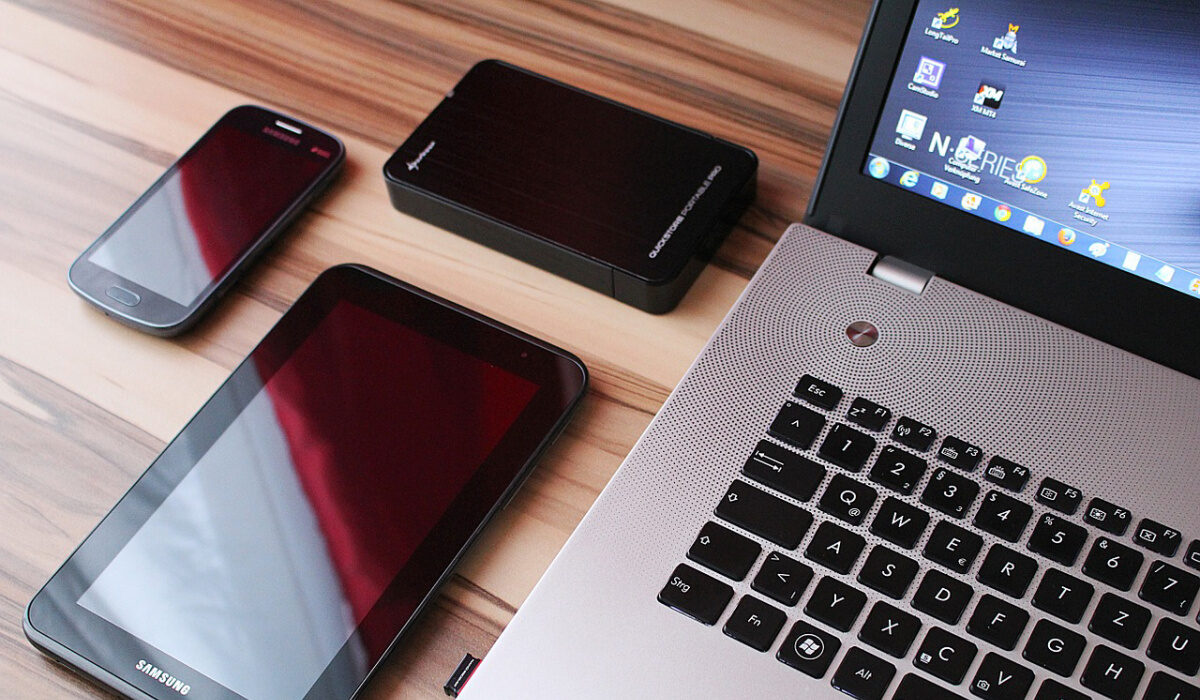
No one keeps offline copies of photos on their PCs or external storage devices anymore. However, it is strongly advised that you still preserve an offline backup for unforeseen scenarios in addition to backing up your photos online to Google Photos or Dropbox.
One of the best options in this regard is to learn how to transfer photos from Android phone to external hard drive. If you’re unfamiliar with how this works, especially in the Android ecosystem, we’ve created this guide for you. This article will show you how to transfer photos from Android phone to external hard drive.

Table of Contents
How Can I Transfer Photos from Android phone to External Hard Drive?
The instructions you need to successfully transfer photos from Android to an external hard drive will depend on the type of laptop.
We’ve provided instructions that will work for both Mac and Windows laptops.
Transferring Photos from Android phone to External Hard Drive on Windows PCs
Follow these steps to transfer photos from Android to an external hard drive on a Windows PC:
● Connect your Android device to your Windows 10 computer and choose the option for “Transferring images/Transfer photo“.
● Open a new Explorer window or click “This PC” on your Windows 10 computer. Under Devices and Drives, your linked Android smartphone ought to appear. Double-click it, then select Phone storage.
● Your Android device’s microSD card will appear separately here if one is currently inserted. If the SD card contains all of your photographs and videos, select that.
● Your Android smartphone will store all of the images and videos it takes under DCIM/Pictures or DCIM/Camera. Copy all the pictures and videos you would like to transfer by navigating to the folder.
● Open the external storage device that is attached to your computer by navigating to Computer. It should appear under the Devices and Drives section. Continue by pasting each media file into a folder or another location on the device.
Transferring Photos from Android phone to External Hard Drive on a Mac
The process is slightly different on a Mac because one needs to use the Android File Transfer program. Make sure to first install the program on your Mac if you haven’t previously done so.
Afterward, follow these steps to transfer photos from your Android to an external hard drive on the Mac:
● Select the “Transferring images” mode on your Mac when connected to your Android smartphone. Android File Transfer should launch automatically. Go to the folder where all of the videos and photos you clicked are saved.
● Drag and drop the photos into a folder on your Mac after selecting all of them.
● Copy and paste the folder or the photographs from your desktop to an external hard drive that is connected to your Mac. You can clear up space on your desktop by deleting the folder after the procedure is completed.
Directly Transferring Photos from Android phone to External Hard Drive
The fact that all Android handsets support USB OTG is one of its advantages. Thanks to this functionality, it’s possible to directly transfer images from Android to an external hard drive.
You’ll need to use a USB OTG adapter to connect the hard drive to your smartphone in order to do this. They are reasonably priced, widely accessible, and useful in a variety of other situations.
Connect an external hard drive to your Android smartphone using an OTG adapter. Then, using a file manager of your choice, such as Solid File Manager, go to the folder on your Android device where all of the photographs and videos are kept. Then, continue by copy-pasting it into a folder of your choosing on the external hard drive.
In summary, try any of the methods we’ve described in this guide if you’re looking to successfully transfer photos from Android phone to external hard drive.