So, to set up cellular service on your iPhone, you need either a physical SIM card or an eSIM. Your SIM (physical or E) is the gateway that connects your smartphone to your carrier so it can use network services like telephone calls, SMS, or mobile internet connectivity.
A physical SIM card is self-explanatory, and most people are familiar with it. An eSIM, on the other hand, is a virtual SIM card; it isn’t physical. But they have the same function – to connect your smartphone to your wireless carrier so you can use their network services.
Table of Contents
Install a physical SIM card to set up cellular connectivity on iPhone
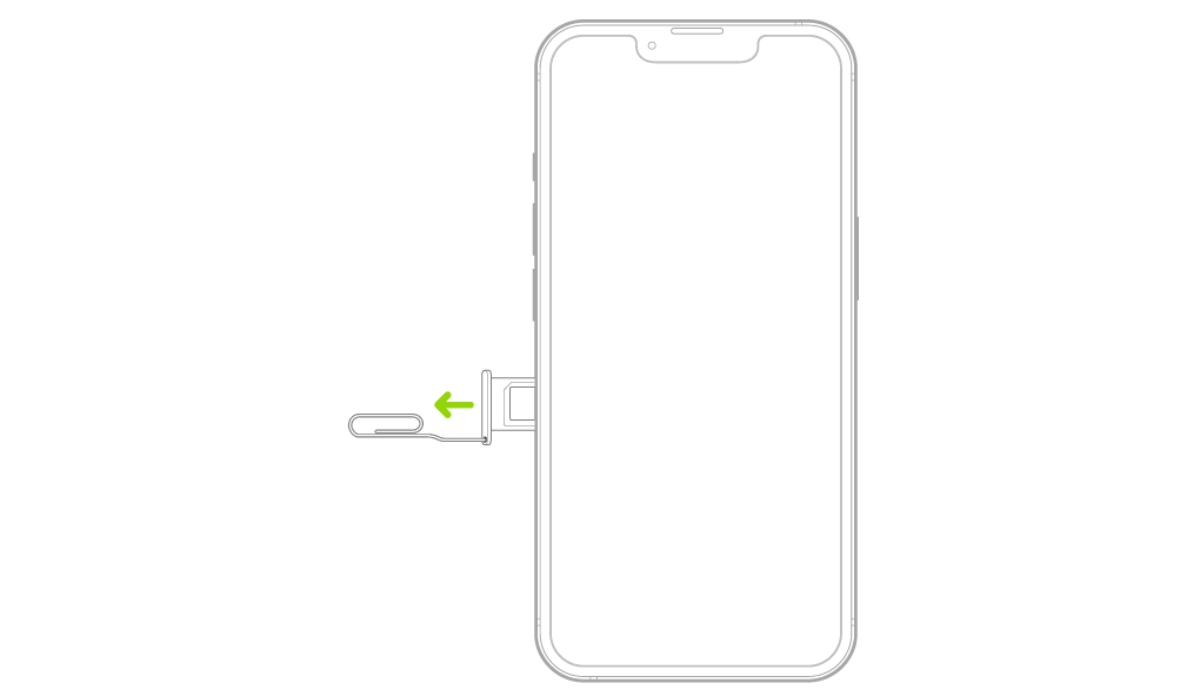
Once upon a time, all you needed to set up cellular service on your Apple iPhone was a physical SIM card. To do that, you have to use a SIam tray remover to open the SIam card tray and insert your SIM card. Push it back in and on a few moments, your iPhone would connect to your wireless carrier.
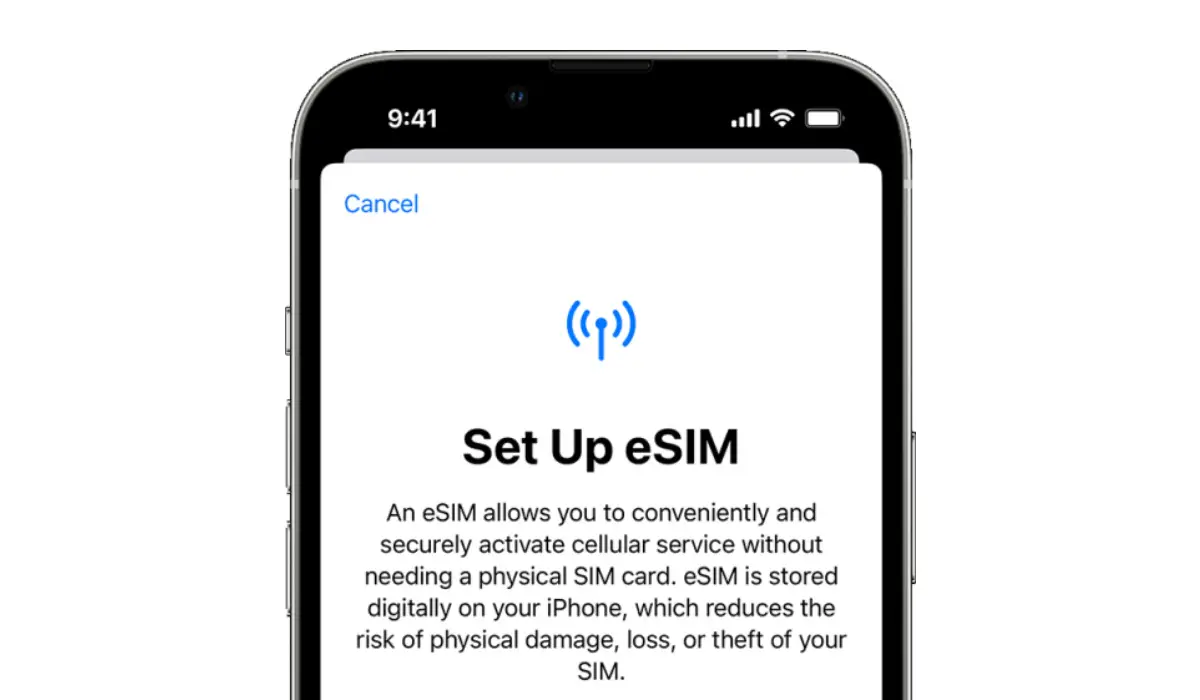
That still works today for iPhones that have a physical SIM card slot. However, not all iPhones have a physical SIM slot again. The arrival of eSIM technology has changed that. Some new iPhone models come with both a physical SIM slot and an eSIM. In the United States, all new iPhones sold in the country since the iPhone 14 have eSIM only.

Activate an eSIM to set up cellular service on your compatible iPhone
If you have one of those eSIM iPhones and you are on the US, or you are in any other country where mobile network operators provide eSIM service, detailed below are instructions on how to set up cellular service on your device.
Note that you will need an active Internet connection at any point in time during the process of activating an eSIM. Let’s get started.

eSIM Carrier Activation
If you have never used an eSIM with your mobile number before, an eSIM carrier activation is the main way to set up cellular service on your iPhone.
You need to go to a carrier store or facility to request for an eSIM activation. Your carrier will then assign a new eSIM directly to your iPhone and you will receive a “Finish Setting Up Cellular” notification on your phone, tap it. Cellular service will now be active on your iPhone.
eSIM Quick Transfer
Some carriers support transferring a phone number from your previous iPhone to your new iPhone without needing to contact them. This method requires iOS 16 or later on both the old and the new devices).
On your new iPhone, go to Settings > Cellular, tap Set Up Cellular or Add eSIM, then tap Transfer From Nearby iPhone or choose a phone number. On your previous iPhone, follow the instructions to confirm the transfer.
Note that after your phone number is transferred to your new iPhone, it stops working on your previous iPhone.
Scan a QR Code provided by your carrier

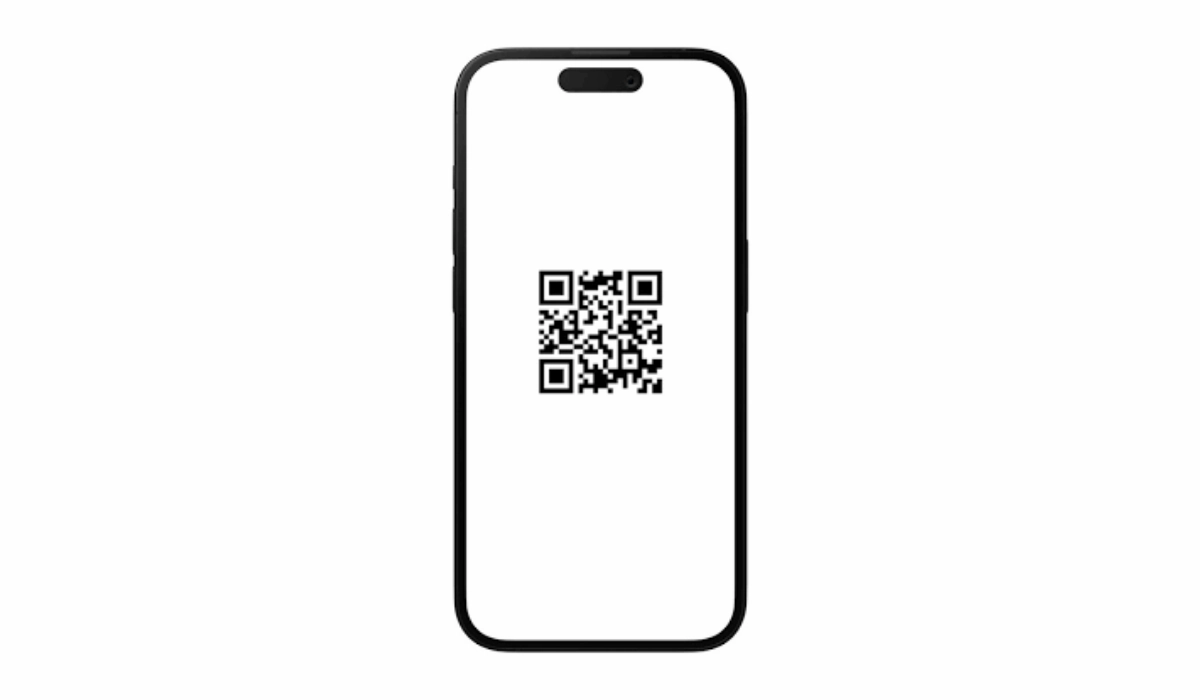
If you have been previously assigned an eSIM by your carrier, usually, you would have been given a QR code that you can use to activate your number on any eSIM smartphone. You can use that QR code to set up cellular service on your new iPhone without having to contact your carrier or mobile network operator.
- On your iPhone, go to Settings > Cellular,
- tap Set Up Cellular or Add eSIM,
- tap Use QR Code.
- Position iPhone so the QR code appears in the frame and is automatically scanned by your device.
- You may be asked to enter a confirmation code provided by your carrier.
Transfer from a different smartphone
If your previous phone isn’t an Apple iPhone, contact your carrier to transfer the phone number.
Activate service through a carrier’s app
To set up cellular service using a participating carrier’s app, go to the App Store, download the carrier’s app, then use the app to activate cellular service.
