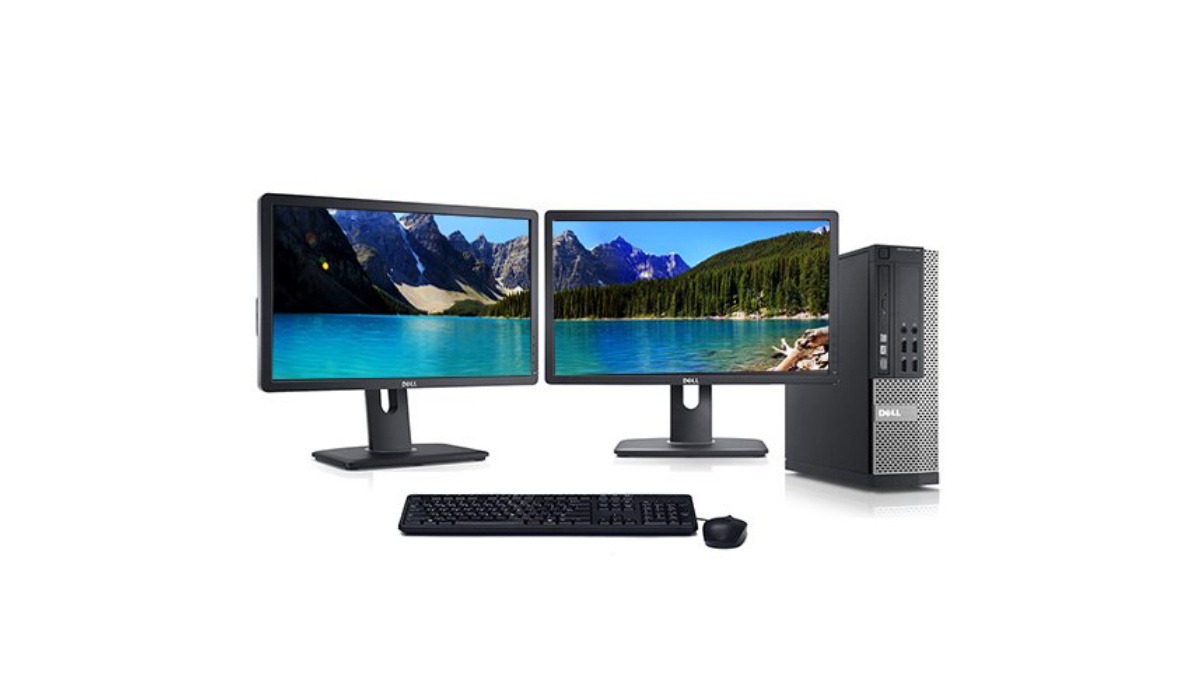
It’s normal to consider purchasing a new computer if the performance of your current one is preventing you from working effectively. However, there are a few easy adjustments you can make to greatly boost speed and processing power in your PC before you decide to open your checkbook and purchase a new one altogether.
One of such tweaks to try is upgrading your RAM. This probably already sounds intimidating, but no need to worry. We’ve created this guide for you, so you can learn how to update the RAM on your computer to get a snappier, more fluid performance.

First Things First…
A computer’s short-term memory bank is called RAM, or random access memory. RAM is incredibly rapid and stores data that is presently being processed or will be needed shortly, unlike the long-term storage space found on your hard disk.
The maximum amount of RAM (random access memory) that any given computer can use is set. As such, you’ll need to first check to see if your computer can manage the higher capacity before adding more memory to it.
Here’s how to check the RAM for your motherboard based on the design of your system:
- Holding down the Windows key while pressing R will bring up the Run window.
- To display a summary of your System Information, enter “msinfo32” into the dialog box and press OK.
- Under BaseBoard Manufacturer, BaseBoard Product, and BaseBoard Version, you’ll be able to find information about your motherboard.
- Using that information, look up the specifications of your motherboard online to learn about the maximum RAM configuration and capacity.
Once you are aware of your system’s limitations, you can consider how to effectively use the motherboard’s RAM slots in accordance with your requirements and financial constraints.
Upgrading the RAM on your PC
Although installing RAM is pretty simple, it is important to be careful not to harm any of the delicate internal hardware components. Another word of caution: opening up the PC could void the guarantee provided by the manufacturer, so weigh your options before deciding on this step.
You’ll be able to install RAM on desktops and laptops by following the installation guide below.
How to Install RAM on a Laptop
Before you proceed with installing RAM, make sure you can update the RAM by yourself. This is because some laptops have the RAM modules soldered directly onto the motherboard, which means the process might be a bit more complicated.
Here are thorough instructions on how to change RAM on a laptop, assuming that your laptop device has removable modules:
- Turn off your laptop, shut the lid, and allow it to cool completely.
- Disconnect all cables, cords, and peripherals while you wait.
- Put your laptop on a solid, flat surface with the bottom facing up.
- Open up the compartment containing your RAM, or unscrew and remove the bottom casing, depending on the make and model of your laptop.
- Touching an unpainted metal surface will help you to ground yourself, so you can shield your internal components from static electricity.
- Remove the clips securing your current memory modules by carefully pulling them apart. You can pull the RAM module completely out of the slot once it partially pops out.
- Insert your new RAM by matching the module with the slot, pressing down forcefully on the module until it locks in place, and being careful not to touch the gold connectors on top of the module.
- After all new modules have been placed, turn your laptop the correct way up, secure the RAM access panel or bottom case, and plug all cables and cords back in.
How to Install RAM on a Desktop Computer
Follow these steps to install RAM if you’re using a desktop computer:
- Before unplugging any cables or wires, turn off your PC.
- Place the device on a flat, smooth surface, making sure to lay it on its side.
- You’ll probably need to refer to your owner’s manual and have a Phillips screwdriver on hand in order to remove your computer’s case and gain access to the motherboard.
- To avoid static discharge harming delicate internal computer components, ground yourself by contacting an unpainted metal surface.
- Pressing down on the clamps at either end will release the RAM modules, causing them to rise up from the slot so you can pull them out straight away.
- To avoid damaging the gold connectors or other components, only handle the edges or corners of your new RAM modules.
- Install your new RAM by ensuring that the slots on each module’s notches line up with them. Then, press down hard but evenly until the clips on either side of the module click into place.
- Put your PC back together and reconnect all of the wires and accessories.
After the Upgrade…
Restart your computer after completing the installation to make sure your system has detected the new RAM. This can be done by accessing the Control Panel, clicking System and Security, and choosing System to view your device settings, or by using the Task Manager.
You’ll know that your update was successful if the quantity of memory indicated in the Control Panel matches the amount of RAM you added. Also, at this point, your device’s performance should be way better than it was before you initiated the upgrade.
In summary, consider upgrading your system’s RAM first before you make a decision to buy a new one if you’re not satisfied with its performance. The instructions we’ve provided above should suffice to get it done, but if you’re unsure that you can handle it correctly, make sure to see a computer repair professional.
We hope you’ve benefited from this article, so don’t hesitate to share it with your friends and loved ones so they can also benefit from it.
- Don’t miss our mobile phone reviews.
- Follow our news on Google News.
- Join our WhatsApp Group, to be notified of the most important articles and deals,
- Follow us on Instagram, Facebook, Twitter, and YouTube.
