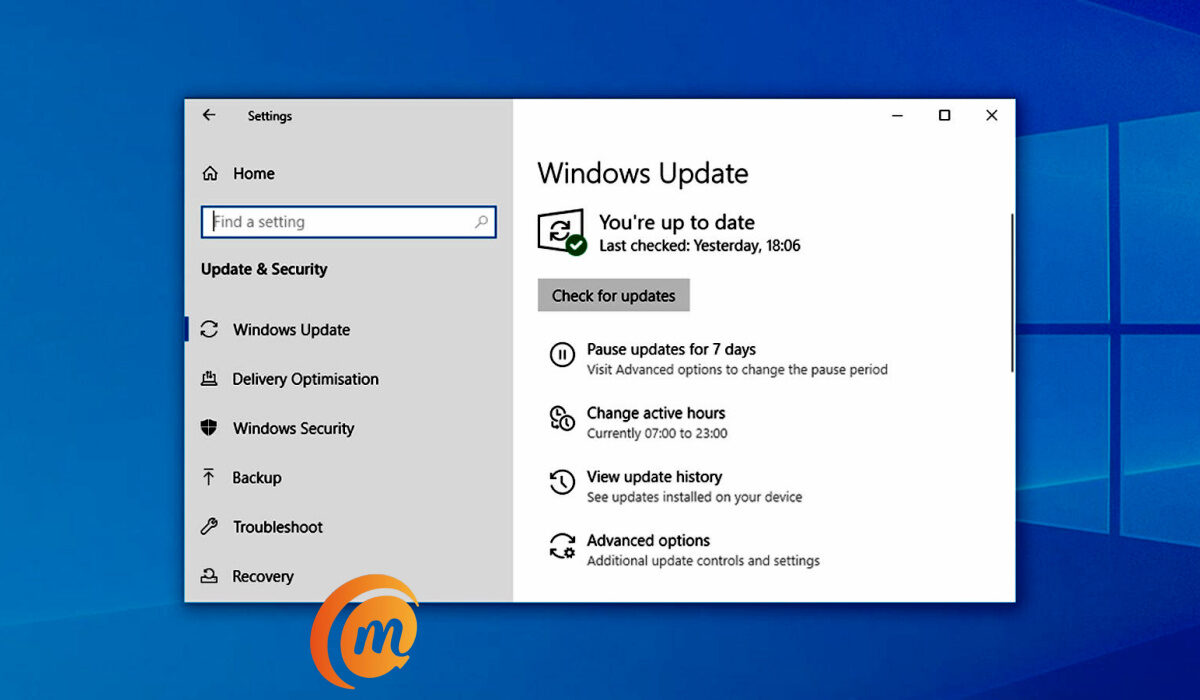
By default, automatic updates are enabled on your Windows 10 PC. This is designed to protect you. Updates bring timely security fixes to your computer, and the fastest way to get it to you is to have it run automatically. However, you might want to turn off automatic updates in Windows 10 for a number of reasons.
Automatic updates in Windows 10 can be obstructive or distracting at times. Perhaps you are in the middle of work, and your PC interrupts you to prompt you for a reboot. Besides that, if you are on a limited data plan, automatic updates can not only be disruptive to your work when you suddenly run out of data because updates were downloading in the background, but can also be a financial strain on you.
Running automatic updates on anything other than an unlimited data plan means you have to buy extra data, from time to time. As such, it can be a good idea to turn off automatic updates in Windows 10.
You might also be wondering if Windows 10 updates are really necessary. They sure are. As mentioned before, they help keep your system up-to-date against security issues. They also sometimes come with new, improved functionality or features. You really should take your updates seriously.
Another question that I get asked is if are Windows 10 updates are free. Yes; the updates are free from Microsoft. But they are often heavy and so will cost you data. If you use an unlimited data plan, you have nothing to worry about. If you are on a costly data bundle, though, it can be a concern, and you might want to turn off automatic updates, even if only temporarily. Or perhaps turn it off permanently and enable the option to manually install your updates at your pleasure. I cover all these scenarios in the instructions below.

Turn off automatic updates in Windows 10, temporarily, for 7 days
- Click the Start button and select the gear icon to open the Settings menu.
- Select “Update & Security”
- Select “Windows Update”
- Find the option that says, “Pause updates for 7 days” and click on that.
You have successfully turned off automatic updates temporarily – in this case for 7 days. Your PC will display that updates have been passed and will resume on a certain date. On that date, automatic updates will start running again. Of course, you can manually unpause before then. Should you find 7 days too short and want a longer period, you can do that too.
Turn off automatic updates in Windows 10, temporarily, for up to 35 days
- Click the Start button and select the gear icon to open the Settings menu.
- Select “Update & Security”
- Select “Windows Update”
- Scroll down and find the option that says, “Advanced options” and click on that
- Scroll down to “Pause updates” and select a date from the drop-down menu titled, “Pause until”. The maximum number of days you can pause it for is 35.
But should you want to permanently disable automatic updates on your Windows 10 PC, how do you go about that? Let’s find out.
Turn off automatic updates in Windows 10 permanently
This one is a little more technical than temporarily disabling automatic updates. But it isn’t difficult, so don’t freak out.
- Press the Windows key and R together. This will open the Run box.
- Type “services.msc” in the box, then click the OK button. This opens the Windows Services window.
- Scroll down to “Windows Update”, right-click on it, and select “Properties”.
- Select “Disabled” from the drop-down menu.
- Click “Stop” in the Service status section.
- Click the OK button.
You have now permanently disabled automatic updates on your Windows PC. Note that in Step 4 above, instead of choosing “Disabled”, you can alternatively choose “Manual”. This will allow you to manually check for updates whenever you want and install them at your own pleasure.
How to manually update your Windows 10 PC
If you choose manual updates, whenever you want to manually check for and run any available updates, follow these steps:
- Click the Start button and select the gear icon to open the Settings menu.
- Select Update & Security
- Select Windows Update
- Click the “Check for updates” button. A list of available updates will be presented to you. Click the “Download and install” link to run it.
That’s it. You now know how to turn off automatic updates in Windows 10, and how to manually update your PC, should you want to.