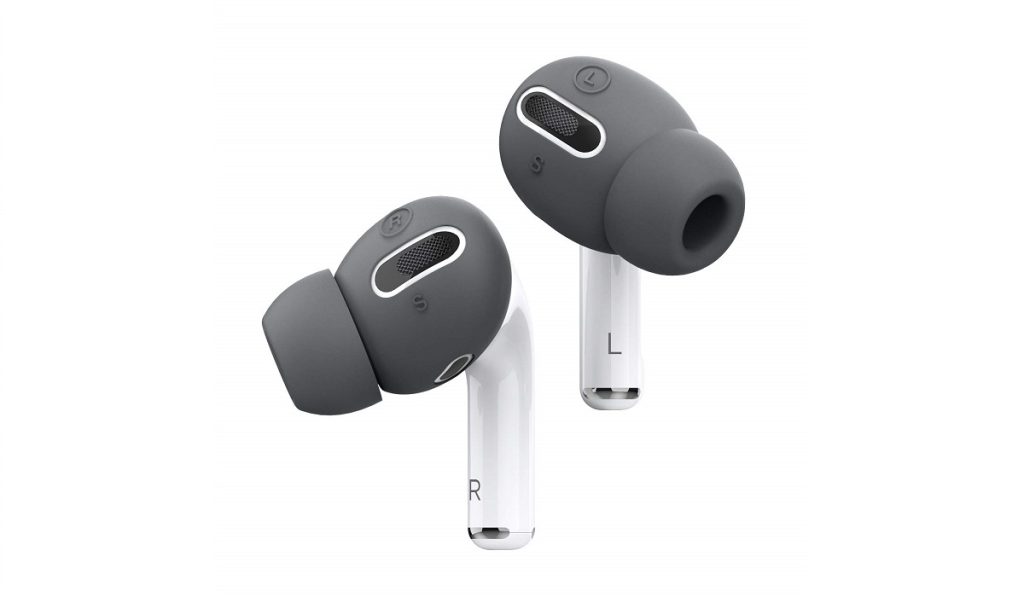
With hundreds of millions of sales, Apple’s AirPods are among its best-selling products. Admittedly, using AirPods with other Apple products is easier and more straightforward, but it’s great that you can also use them with other products outside Apple’s ecosystem.
Whether your desktop computer is a Mac or a PC, it’s possible to connect your AirPods with it. In this guide, we’ll show you how to connect Apple AirPods to your Windows 11 PC.

Table of Contents
How Can I Connect my Apple AirPods to a Windows 11 PC?
As long as you have Bluetooth mode activated on your PC and Pairing mode enabled on your AirPods, you’ll find it easy to connect Apple AirPods to your Windows PC. Follow the steps below:
- Ensure that Bluetooth is turned on by checking in the Settings app. In the system tray, first, click the up arrow. From the menu that displays, select the Bluetooth icon.
- Next, select “Open Settings” from the context menu’s bottom.
- The Settings app’s Bluetooth & Devices page will now be displayed to you. The slider adjacent to the Bluetooth selection should be in the “On” position.
- You can start pairing your AirPods now once Bluetooth is switched on.
- To connect your Apple AirPods to your Windows 11 PC, return to Bluetooth & Devices in the Settings app (click System tray > Bluetooth icon > Open Settings all over again) and select “Add Device” beside the selection that enables pairing of new devices with your PC.
- A window to Add a Device will open. In this window, select “Bluetooth” at the very top.
- Microsoft Windows will start looking for Bluetooth devices at this point. For Windows to detect your AirPods, you must first set them in pairing mode.
- Open the lid of the case and insert your AirPods. Next, press and hold down the Pairing button on the case’s back. You can leave the button once the white light on the case’s front starts to flash.
- Your AirPods will be discovered by Windows after a short while. You’ll now be able to choose your AirPods from the list of devices that Windows discovered.
- Windows will start pairing the two devices after you select the right Bluetooth device.
At this point, you’re good to go. You’ve successfully connected your AirPods to your Windows 11 PC.
How to Troubleshoot Problems with Connecting Apple AirPods to a Windows 11 PC
With Apple devices, AirPods generally connect quickly and easily, per their original design. This means that you run into problems sometimes when trying to connect Apple AirPods to a Windows 11 PC, or other devices outside the Apple ecosystem. Not to worry though, if you encounter any problems, you can try the following troubleshooting suggestions.
Reconnect your AirPods to your Windows 11 PC
Whenever you take out your AirPods near your computer (assuming you’ve already connected the AirPods to your Windows 11 device), they should instantly reconnect. However, this won’t happen if you later attach the AirPods to a different device.
As such, you’ll need to repeat the instructions to manually connect your AirPods to your Windows 11 PC if you discover that they are no longer connecting automatically.
Disable Bluetooth on Nearby Apple Devices
Apple devices and AirPods tend to pair very quickly with each other. This suggests that if you’re trying to connect your Apple AirPods to a Windows 11 PC and there are any nearby Apple devices, the AirPods might connect to those devices instead.
Unpairing your AirPods from your Apple devices is one possibility, but it’s a bit extreme. Instead, temporarily disable Bluetooth on nearby Apple devices if you’re experiencing problems connecting your AirPods to a Windows 11 PC.