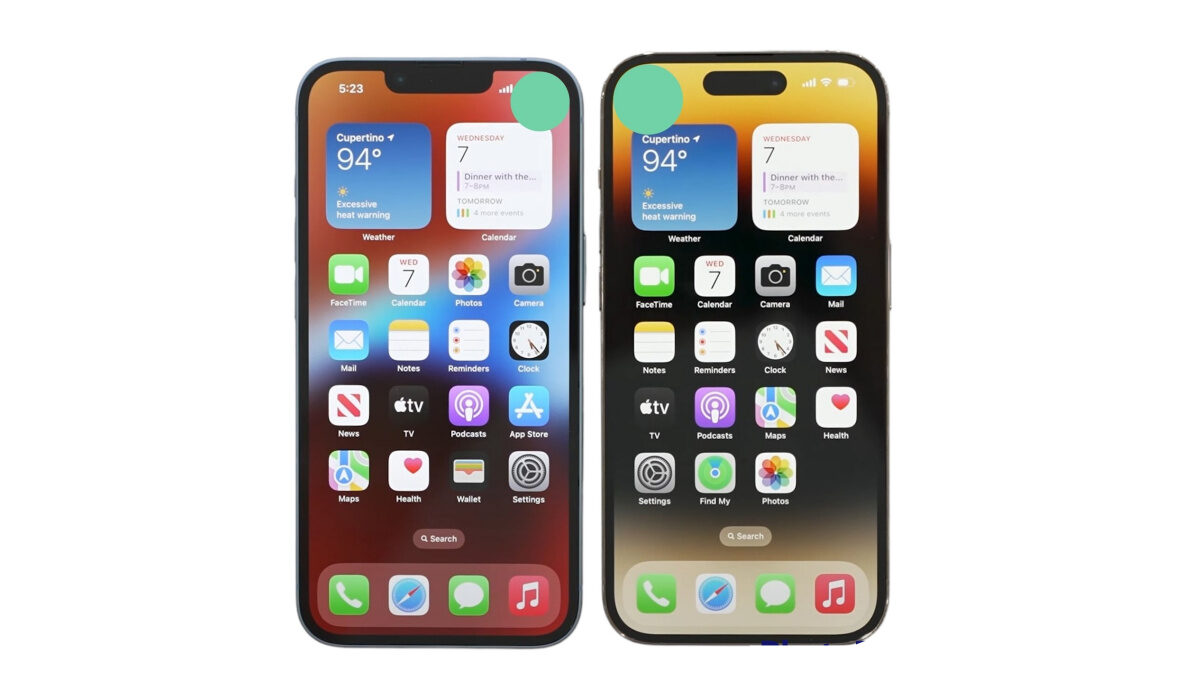
A standard iPhone screenshot captures the full contents of your screen, nothing more and nothing less. However, there’s a chance that such screenshots won’t always be adequate, especially if you’re attempting to record something that goes way beyond your phone’s screen.
Thankfully, iOS has a feature called “Scrolling screenshots” that lets you take a single screenshot while scrolling through numerous pages. A scrolling screenshot makes the procedure simpler than using third-party tools to combine multiple screenshots into one larger one.

In this guide, we’ll show you how to take scrolling screenshots on your iPhone device if you’re not already familiar with the process. So, keep reading to find out the different ways to get this done.
What is a Scrolling Screenshot?
A full-page screenshot, also known as a scrolling screenshot, lets you take a single screenshot that will cover the entire page of a webpage, document, or email. For instance, you would only need to take one screenshot to get the complete 116-page document on Safari if you wanted to screenshot it.
This totally eliminates the need to capture multiple screenshots and have to go through the stress of combining or joining them.
How Do I Take A Scrolling Screenshot on iPhone?
To take a scrolling screenshot, there are some things you must first be aware of. For one, this feature only functions (as of the time of writing this article) with screenshots taken using the Safari web browser. Also take note that scrolling screenshots, which are typically saved as a PDF, can only be saved using Apple’s Files app.
Follow these steps to capture a scrolling screenshot:
● Start by taking a standard iPhone screenshot. Press the Side button and the Volume up button quickly if you have FaceID. Home button plus side/top buttons are required for Touch ID.
● Click on the screenshot preview; you’ll see it in the lower-left corner. It will only be there for about five seconds, so you’ll need to move swiftly.
● After that, select Full Page. A preview of the complete scrolling screenshot is displayed beneath Full Page, coupled with a larger preview in the center. In case the scrolling screenshot is too long, you also have tools to crop it.
● Click Done after you’re done editing the scrolling screenshot. Two options will be presented to you: one to save the scrolling screenshot and the other to remove it.
● If you want to save the scrolling screenshot, you’ll need to click on Save PDF to Files. If more than one screenshot is taken, select Save All to Files or click on the Share icon located in the top-right corner of the screen, then select Save to Files. The share button (box with an arrow pointing up) is located in the upper right corner of the screenshot. Tap it to share the file immediately via Messages, email, etc. When finished, proceed with the remaining instructions given below.
● To save the scrolling screenshot, select a folder. The Downloads folder or the most recent folder you stored something to will be chosen by default in the Files app.
You can also take a scrolling screenshot with AssistiveTouch, which is an accessibility tool that is typically included with the iPhone. Keep in mind that you must have AssistiveTouch configured in Settings > Accessibility > Touch > AssistiveTouchin order to snap a screenshot with it.
To use this technique to capture a scrolling screenshot, follow these steps:
● Use the set AssistiveTouch tool to take a screenshot of a website or a large document.
● You can take a screenshot using Back Tap if your system is configured to do so.
● Click the preview thumbnail that shows up in the lower-left corner of the screen after taking a screenshot.
● To view what the screenshot will look like, tap the Full Page tab in the top-right corner of the screen.
● When you’ve completed the process, select Done from the top-left corner of the screen. Tap Save PDF to Files to store the PDF (or click the option to Save All to Files if you took more than one screenshot).
● Choose a location to save your screenshot of the scrolling page. Once it has been saved, you can view it via the Filesapp.
How Do I View My Scrolling Screenshots?
All the converted scrolling screenshots are delivered as PDF files to the built-in Files app. Open the Files app, navigate to the folder where your screenshot was saved, then press the image to view it scrolling.
You can change the file’s name, add drawings, give comments, and more here. The scrolling screenshot can also be shared, but the recipient needs Files or another PDF viewer to view it.
In conclusion, taking scrolling screenshots is really easy to achieve, as long as you have the right information to take advantage of the features on your iPhone device.
- Don’t miss our mobile phone reviews.
- Follow our news on Google News.
- Join our WhatsApp Group, to be notified of the most important articles and deals,
- Follow us on Instagram, Facebook, Twitter, and YouTube.

