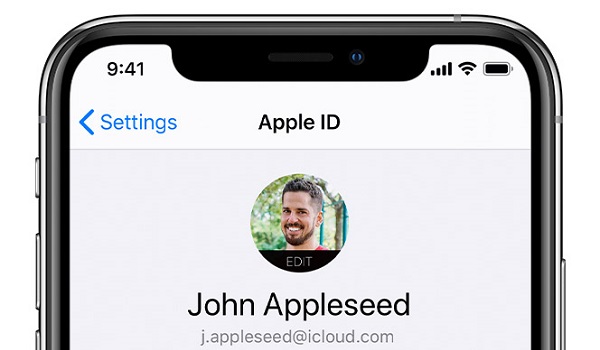
Apple typically requires you to check in with your Apple ID before you can access all of its goods and services, so having mistakenly created multiple Apple IDs can get very messy. Even worse, you might discover that some purchases are not accessible on all of your devices because the accounts are not in sync.
Now, even though Apple doesn’t offer a simple way to combine multiple Apple ID accounts, it’s still possible to manage multiple Apple IDs in a way that lets you transfer data across devices and prevent any issues.

In this guide, we’ll show you the steps to successfully manage multiple Apple IDs and access all of Apple’s services on your devices.
How Can I Manage Multiple Apple IDs I Created By Mistake?
Usually, every user should only have an Apple ID per email account. If you have multiple Apple IDs, there’s the downside that separate data will be locked to separate accounts. Contacts, calendars, and other iCloud data will also not be readily synced between Apple ID accounts.
To manage multiple Apple IDs if you’ve mistakenly created them, you will need to manually move data from one Apple ID to another.
Follow the instructions we’ve created below to manage multiple Apple IDs:
1. Select a Main Apple ID
First, it’s important to decide on which of the Apple IDs you wish to use going forward. Since purchases cannot be transferred to another account, choose the ID with the largest value of purchases linked with it.
When you click your name in the App Store on a Mac, a list of your purchases will show up. To determine which Apple ID account that is, click Account Settings next. View your Apple ID account by opening the App Store on an iPhone or iPad and tapping the profile symbol. Next, click Purchased to see your purchases.
Do the same thing for any other apps where you’ve made purchases, including Apple TV, Books, Music, and Third-Party Apps connected to an Apple ID.
By visiting the Apple ID page in Settings or System Settingsand selecting Subscriptions, or by heading to Media & Purchases > Subscriptions, you should also verify your active subscriptions.
This is the first step to managing multiple Apple IDs. If you’ve never made any purchases, then you’re free to choose the account you’d prefer to maintain going forward.
2. Move your iCloud Content to the Main Apple ID
The second thing to do in order to manage multiple Apple IDs is to move your iCloud content from the second account to the main Apple ID account you selected in the first step.
Sign in to the secondary account and download any iCloud Drive files or folders before transferring them to the main Apple ID account. In Finder or the Files app, you can download files by touching or clicking the cloud symbol next to iCloud Drive files. Similarly, download and move the photos in your iCloud Photo Library to your main account.
You can try syncing all of your data to your email address if you already have data in other iCloud apps, including Contacts, Calendars, Reminders, and Notes.
On an iPhone, go to Settings > Mail > Accounts, and on a Mac, go to System Settings > Internet Accounts.
When you choose your email address and turn on all the necessary options, that information will be uploaded to your email account and remain there even when you log out of your second Apple ID.
3. Enable Family Sharing for Content You Can’t Transfer
When attempting to manage multiple Apple IDs, there may be some content you’re unable to transfer. However, by configuring Apple Family Sharing, you can maintain access to any purchases made using your second Apple ID account that you are unable to move to your primary account.
Family members can exchange content using this function, but you can also use it to connect your own Apple ID accounts. You can access every purchase made on both accounts if you activate Purchase Sharing in the Family Sharing settings.
You can use Family Sharing to access any active subscriptions on your second account through your primary account. When the time for renewal comes, just cancel the current subscription and start a new one from the main account.
4. Delete the Second Apple ID Account
The final step to managing multiple Apple IDs is to delete the second account. Do this as soon as you’ve transferred everything you want to keep from it, and you aren’t using Family Sharing to share any purchases.
By doing this, you’ll prevent logging into the wrong account and repeating the same mistake. To delete your Apple ID account, go to the Apple ID website.
Take note though, if you still need to use Family Sharing to retrieve your previous purchases, don’t delete your second Apple ID account just yet.
In summary, you can easily manage multiple Apple IDs if you’ve created and used them mistakenly. Follow our instructions in this guide for the best results.
- Don’t miss our mobile phone reviews.
- Follow us on Instagram, Facebook, Twitter, and YouTube.

