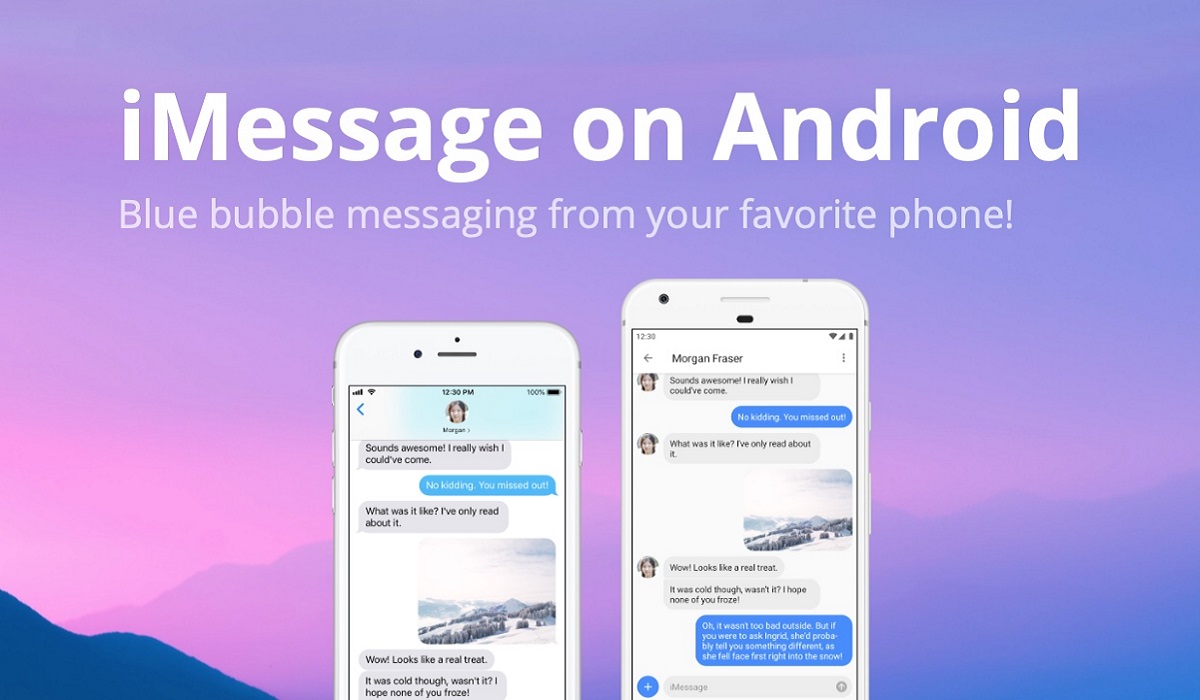
One of the most noticeable differences between the iPhone and Android is that the latter does not support iMessage by default. Apple designed the iMessage feature specifically for iOS devices. However, because of its numerous advantages and appealing effects, many Android users want to use this outstanding service.
Fortunately, it’s now possible to use iMessage on Android with AirMessage, a fantastic piece of software that allows you to use iMessage on any internet-enabled device. The only limitation AirMessage has is that it requires a MacBook to function and that it must be turned on and connected to the internet to send and receive iMessages because it functions as a private server.

If you’re wondering how to use iMessage on an Android device with AirMessage and a Mac, keep reading. We’ve compiled all the necessary details on how to achieve this easily.
How Can I Use iMessage on Android with AirMessage and a Mac?
All you need to use iMessage on your Android with AirMessage is:
- an Android device
- a local Mac device or a macOS Cloud server
Once you have these on hand, follow the instructions below to use iMessage on Android with AirMessage.
Install and Set Up the AirMessage Server app on your MacBook
Before you can use iMessage on your Android, you must first install an AirMessage server on your MacBook.
- First, on your Mac, download and install the AirMessage Server for macOS app.
- If it isn’t done automatically, move the app to the Applications folder.
- On your Mac, launch the AirMessage app.
- Click the Connect an Account (Recommended) option
- Create a new account or sign in to your existing one.
Enable Automation and Full Disk Access
There are a few more steps you must take before proceeding. When configuring the app, you must grant AirMessage full disk access as well as access to the built-in macOS Automation functionality.
- On your Mac, launch the System Preferences app.
- Select Security and Privacy
- At the top of the window, click the Privacy button
- Scroll down to Automation in the sidebar
- In the bottom-left corner, click the Lock icon
- Enter your password here (or use TouchID).
- Click the checkbox next to Messages under AirMessage
- To save the changes, click the lock again.
Following that, you need to enable Full Disk Access. To do so:
- Navigate to System Preferences > Security & Privacy > Privacy
- Select Full Disk Access from the left bar.
- Again, select the Lock option, enable AirMessage
- Next, select Lock again to save the changes.
Changing Sleep Preferences
On your Mac, AirMessage works as a server, so to send and receive messages, it must always be “awake.” You won’t be able to route your messages if it’s sleeping or the lid is closed.
Here’s how to modify the Energy Saver settings:
- On your Mac, launch the System Preferences app
- Select Battery
- Click Power Adapter in the sidebar.
- Drag the slider to adjust when your display turns off automatically.
Select the checkboxes next to the following:
- Prevent your Mac from sleeping automatically when the display is turned off.
- Wake for Wi-Fi network access
Enable Port Forwarding
The next step to use iMessage on Android with AirMessage is to configure port forwarding on your router. This is required in order for AirMessage to communicate with the server software on your Mac via the internet.
This allows you to use AirMessage regardless of where you are, as long as your computer is turned on at home. Setting up port forwarding differs depending on your router so it’s advisable to consult the manufacturers for the best approach
Install the AirMessage app on Your Android Device
At this stage, you can now download and install AirMessage since the difficult part of the setup is complete.
Follow these steps:
- Go to the Google Play Store and download the AirMessage app.
- Open the app on your Android phone afterward.
- Log in with the same account you used on Mac (via the Connect account option).
- Tap the blue chat icon in the app’s bottom-right corner and enter a phone number to which you want to send an iMessage.
- Allow AirMessage to use the Messages app in a pop-up window that appears on your Mac.
And there you have it; you can now use iMessages on your Android through AirMessage.
In conclusion, using iMessage on your Android phone with AirMessage necessitates some technical knowledge due to the requirement of a third-party iMessage app. Even though it takes some time to set up, with the step-by-step guidelines we described above, using iMessage on Android with AirMessage and a Mac will be quite simple.
- Don’t miss our mobile phone reviews.
- Join our WhatsApp Group, to be notified of the most important articles and deals,
- Follow us on Instagram, Facebook, Twitter, and YouTube.

